
Weathersealing is one of the few garage door jobs we actually recommend as a DIY project. No tension springs, no heavy lifting — just a measuring tape, a utility knife, and an afternoon. North Alabama's humidity and summer storms make this a worthwhile annual check.
What You're Sealing — The Three Areas
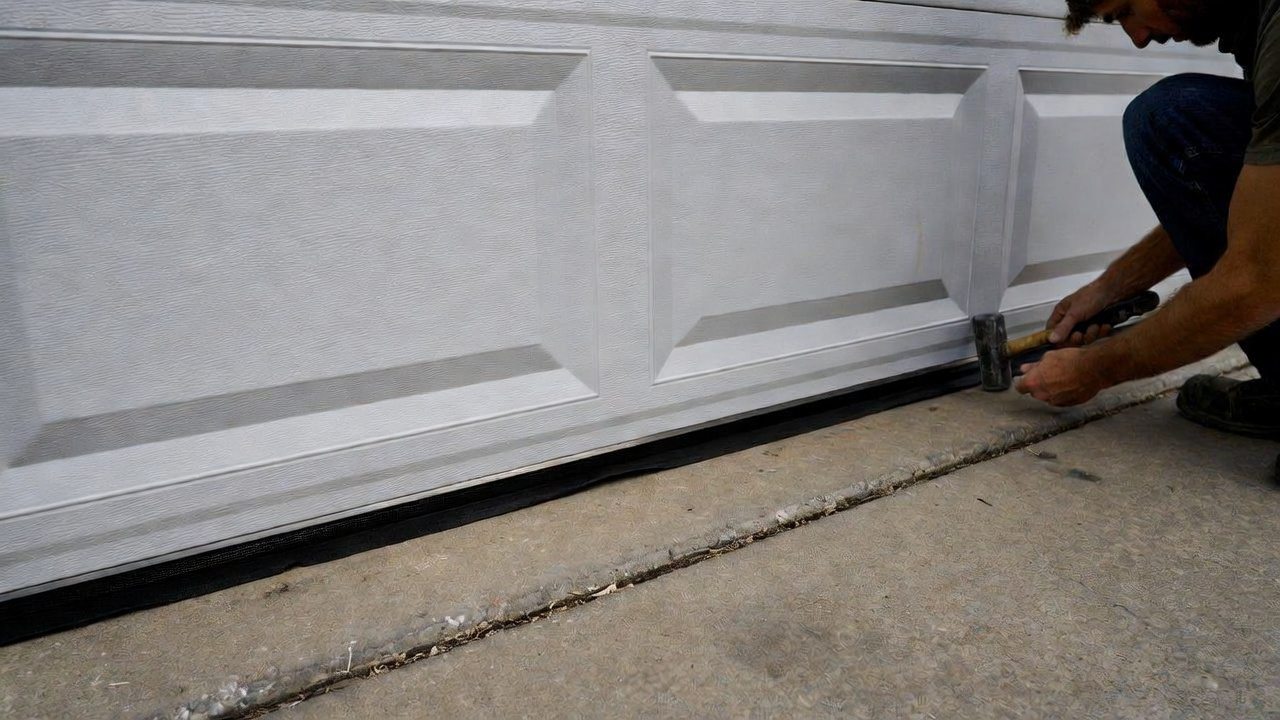
Bottom Seal
The rubber strip along the door's bottom edge. Most common failure. Seals against the floor.
Side Stops
Vinyl weatherstripping on both sides of the door frame. Seals the gap between door and frame.
Top Seal
Flexible flap across the top panel. Less commonly replaced, but worth checking if you see light at the top.
What You'll Need
Materials
- Garage door bottom seal (T-slot or wrap-around — see below)
- Side weatherstripping (vinyl door stop with rubber fin, sold by the foot)
- Top seal replacement strip (if needed)
Tools
- Measuring tape
- Utility knife with fresh blade
- Flathead screwdriver
- Hammer or finish nail gun
- Tin snips (if cutting metal retainer)
- Soapy water (helps slide T-slot seals)
Step 1 — Identify Your Bottom Seal Type
Before buying anything, you need to know which type of bottom seal your door uses. There are two main types:
T-Slot (Most Common)
A metal retainer is attached to the door's bottom rail. The rubber seal slides into this retainer from the side. You only replace the rubber — the retainer stays.
Wrap-Around / Bead
The seal wraps around the bottom of the door panel and is nailed or screwed directly to the wood or steel. Entire strip is replaced including the backing.
To identify yours: look at the very bottom of the closed door. If you see a metal channel (retainer) with rubber pushed into it, you have T-slot. If the seal is screwed or nailed flat to the door face, it's wrap-around.
Step 2 — Measure and Buy
Measure your door's width — standard widths are 8 ft (single car), 9 ft, 16 ft (double car), or 18 ft. Buy a seal at least 2 inches longer than your door and trim to fit. It's better to have extra than to come up short.
Recommended Seals on Amazon
$18–$30
$30–$55
$12–$22
✦ Amazon affiliate links — we earn a commission at no extra cost to you. Full disclosure →
Step 3 — Replace the Bottom Seal
For T-Slot Seals
- Open the door fully so you have easy access to the bottom rail. The door should be in the up position.
- Slide out the old seal from one end of the retainer. Work it out slowly — the rubber may be dried and brittle. If it breaks into pieces, pull each piece out separately.
- Clean the retainer with a damp cloth to remove old rubber residue and dirt. This helps the new seal slide in more easily.
- Apply soapy water to the T-shaped edge of the new seal. This acts as a lubricant and makes sliding the seal into the retainer much easier.
- Slide the new seal in from one end, working it along the full width of the door. The T-bulb fits into the slot in the retainer — push firmly and evenly as you go.
- Trim to length with a utility knife once the seal is fully seated. Leave a slight overlap (¼ inch) if the seal is soft rubber — it will compress when the door closes.
For Wrap-Around Seals
- Remove the old seal by unscrewing or prying out the nails holding it to the door bottom.
- Measure and cut the new seal to exact door width with a utility knife or tin snips.
- Align the new seal centered on the door bottom so it extends equally on both sides.
- Fasten with galvanized nails or screws every 12 inches. Don't over-tighten — the seal needs to flex.
Step 4 — Replace the Side Weatherstripping
Side weatherstripping (also called door stops with a seal) runs vertically along both sides of the door frame from top to bottom.
- Close the door fully before starting so you can see where gaps exist.
- Remove the old strips by pulling out the nails with a pry bar or hammer claw. Work carefully to avoid damaging the door frame.
- Measure each side from the top of the opening to the floor. Cut new strips slightly long and trim.
- Position the new strip with the rubber fin against the door face — the rubber should compress very slightly when the door is closed. Not so tight it binds the door, not so loose it lets air through.
- Nail every 8–12 inches with 1¼-inch galvanized nails or use exterior screws. Start at the top and work down, checking the gap as you go.
- Test the door. Open and close it a few times to confirm it moves freely and seals fully when closed.
Step 5 — Check the Top Seal
The top seal is a flexible rubber or vinyl flap attached to the inside top of the door frame. It seals the gap between the top panel and the header. To check it: stand inside your garage with the door closed on a bright day. If you see a line of light at the top, the seal needs replacing.
Top seals are usually stapled or nailed to the door frame and can be replaced the same way as side strips. Some door frames use a J-shaped retainer, similar to the bottom seal's T-slot. Measure the width and order a matching replacement.
How to Fix a Gap at the Bottom — When It's Not the Seal
Sometimes the bottom seal is fine but there's still a gap because the floor is uneven or the door itself isn't level. A few things to check:
- Uneven floor: Some seals come in a thicker profile that can accommodate up to 1 inch of floor variation. Look for "threshold seal" or "extra-wide bottom seal" options on Amazon.
- Door not closing low enough: The opener's close limit may need adjustment — the door stops before reaching the floor. Adjust the down travel limit on your opener motor head.
- Bent bottom panel: If the bottom section of your door is damaged, the seal won't contact the floor evenly. Panel replacement may be needed. See our panel replacement guide →